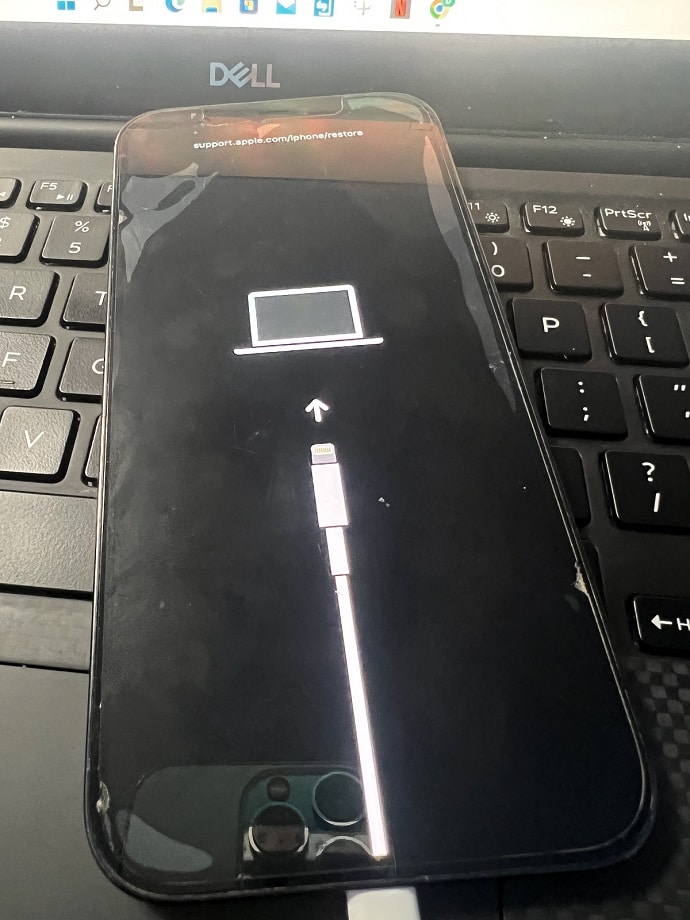
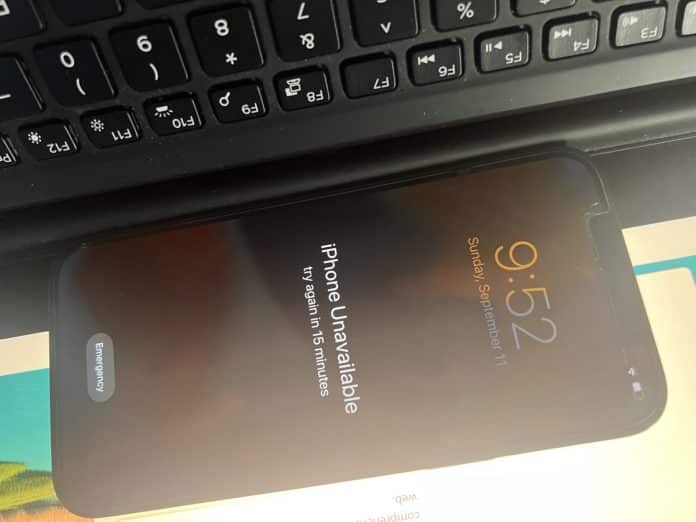
Is your iPhone acting slow or has it been disabled because you entered the wrong password too many times? Either way, to fix this problem you will need to do a hard reset on your iPhone or iPad using iTunes on a computer. But in order to do a hard reset using iTunes, we must put our iPhone in recovery mode first. Luckily, this is a very simple process to follow.
What is recovery mode iPhone?
First, it’s important to know what recovery mode is and what it exactly does. What recovery mode does is that it loads the basic minimum firmware and driver files on your iPhone. Even if your iPhone firmware is corrupted, because of these files, iTunes will be able to connect and interfere with your iPhone.
After that, in case your phone is unusable, iTunes will be able to take control of your phone and will be allowed to load the latest firmware update on it.
Put iPhone in recovery mode
- Open iTunes on your PC.
- Connect your device to your PC.
- Press the Volume Up button. Release it.
- Press the Volume Down button. Release it.
- Press and hold the Side button.
- Keep holding it until the phone reboots and lands itself on recovery mode.

This method of putting an iPhone into recovery mode will work with the:
- iPhone 8, iPhone 8 Plus
- iPhone X
- iPhone XR
- iPhone XS, iPhone XS Max
- iPhone 11, iPhone 11 Pro, iPhone 11 Pro Max
- iPhone SE (2nd generation)
- iPhone 12, iPhone 12 mini, iPhone 12 Pro, iPhone 12 Pro Max
- iPhone 13 mini, iPhone 13, iPhone 13 Pro
- iPhone SE (3rd generation)
Disabled connect to iTunes
If your iPhone is disabled and says connect to iTunes, you can reset it now that you have put it in recovery mode.
- Open iTunes with your device in recovery mode.
- Select Restore.
- Click Restore and Update.
- iTunes will download the latest iOS software update and install it on your device.
- Your device should be as new when the process finishes up.

