Although the full version of Windows 11 is a few months from release, we can try the beta (Insider Preview) right now. If you would like to try the beta before the full release, you should really do it as safely as possible. There’s a huge amount of risks you can step in by downloading this OS into your PC.
These risks range from bug problems to scam/malware problems. As reported by anti-virus provider Kaspersky, cybercriminals are deceiving users into installing viruses on their computers by masking them as Windows 11 installers.
The safest/best way to install Windows 11 beta (Insider Preview)
To avoid such problems, the safest way to install the Windows 11 beta is by downloading it straight from Microsoft servers and dual booting it into your machine. By downloading it straight from Microsoft servers, we can avoid downloading any malware from malware/virus distributors.
Since this is preview is in its alpha stage, it is recommended to not install this in your primarily used machine. To be safe, you should also not upgrade from your current Windows 10 installation, as this preview lacks many features and has many bugs.
Download Windows 11 beta Insider Preview ISO
The first thing we will do is to build the ISO ourselves from UUPDump.com. After that, we will create a bootable USB drive using that ISO file…
- Navigate to uupdump.net.
- If your computer is running on a 64Bit AMD or Intel processor, select the Windows 11 Insider Preview 10.0.22000.100 (co_release) amd64 link. Use the arm64 link if your device is using an Arm processor.
- After clicking on your desired build, select your language and then click Next.
- Under the “Choose edition” section, uncheck all options except for the Windows Pro or Windows Home option. Click Next.
- Make sure the “Download and convert to ISO” option is ticked on, and leave all other options as they are. Hit the “Create download package” button.
- Extract the downloaded zipped files into a folder where you have easy access to it.
- After extracting the zipped files, go to the folder with the decompressed files, right-click uup_download_windows.cmd, and select “Run as administrator.”
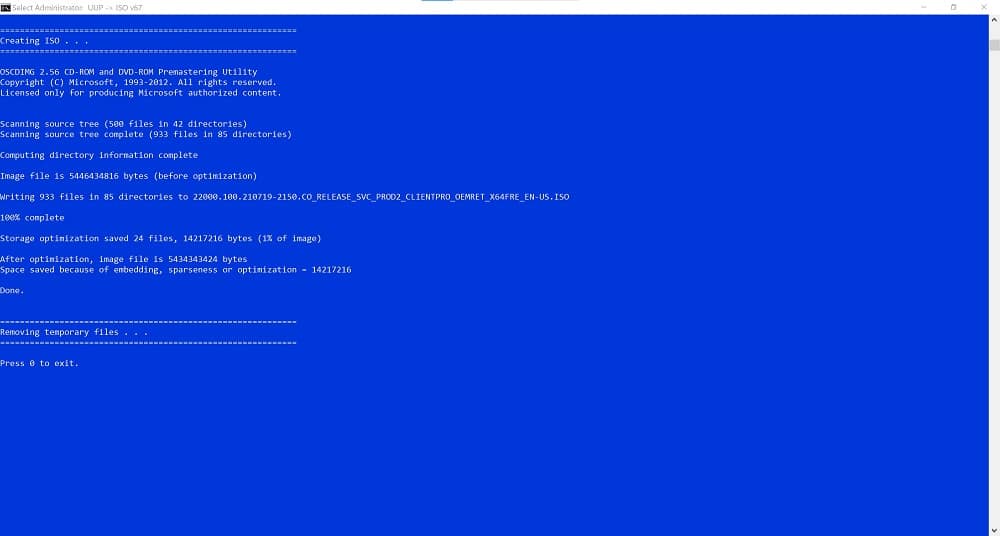
- This script will download and build your Windows 11 Insider Preview ISO through the command prompt. Let it do its job until the end.
- Once completed, you should see a message stating “Press 0 to exit.” At this stage, you should a have Windows 11 Insider Preview ISO straight off Microsoft servers.
Create Windows 11 Beta Insider Preview bootable USB
Ok, the second major step is to create a Windows 11 bootable USB drive. To do this, we must create a bootable USB drive using the Windows 11 Insider Preview ISO we just obtained from Microsoft.
- To create our Windows 11 bootable USB drive, we first need to download Rufu (link) and make sure our USB drive has enough space for the ISO file.
- After you download and install Rufu, open the program and select your USB drive under the Device section.
- At the right side of “Boot selection”, click “SELECT.” Locate the Windows 11 beta ISO you downloaded, which should be on the folder where you originally unzipped the downloaded files.
- Under “Partition scheme,” make sure the GPT option is selected. Click “Start” so the process begins.
- Click OK, and let it run its course to create a bootable USB drive.
At this point, you should be finished and ready to boot from a USB on your computer after creating a separate partition.
Create a partition for Windows 11
In order to install Windows 11 beta along with Windows 10, we must create a separate partition within our hard disk. This will prevent the Windows 11 installation from interfering with your Windows 10 installation. To do this…
- Open Disk Management by typing Disk Management in the Windows search bar.
- Select your biggest disk, right-click it, and select “Shrink Volume.”
- In the “Enter the amount of space to shrink in MB” field, enter 66560, or more if you plan to normally use the Windows 11 beta to download entertainment content or use it as your daily used PC.
- After that, press the Shrink button.
- Right-click the newly created unallocated partition, and select “New Simple Volume.”
- Follow the on-screen wizard to format the partition. Name the Volume label as Windows 11.
Install Windows 11 Beta from USB
Since we have the two most important components to install the Windows 11 Insider Preview, the bootable USB and the Windows 11 partition, we can finally start the installation process.
- Plug your USB drive into your PC.
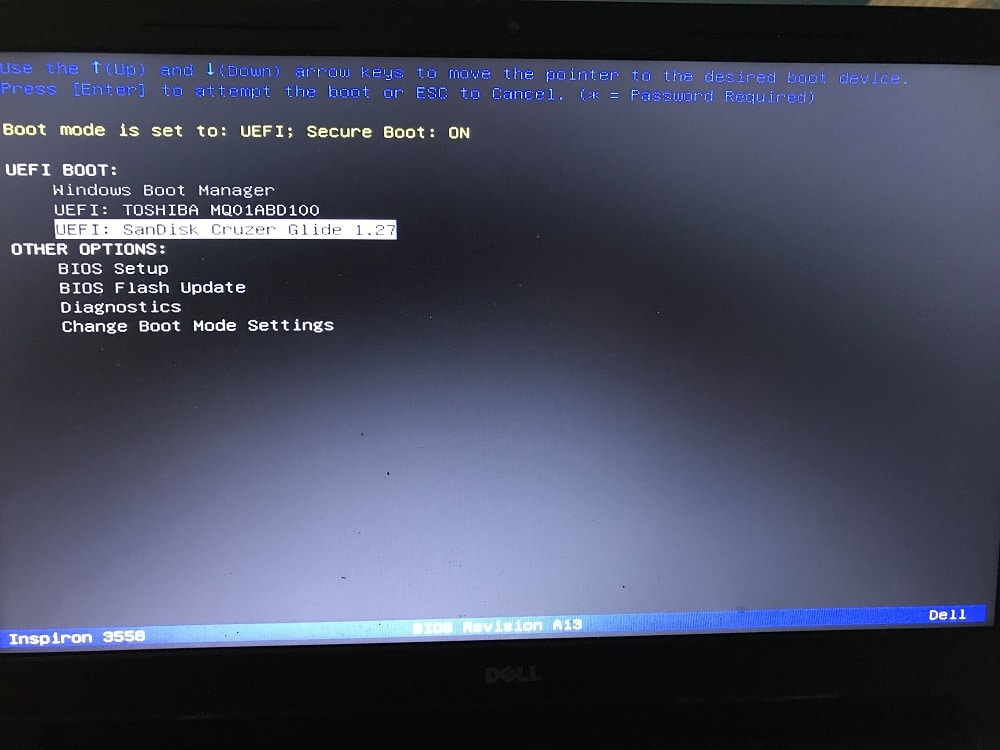
- Restart your PC and launch into your PC’s boot menu. Your PC’s boot menu key should be Esc, F2, F10, or F12, depending on your PC’s manufacturer.
- Once on the boot menu, select the bootable USB you created above.
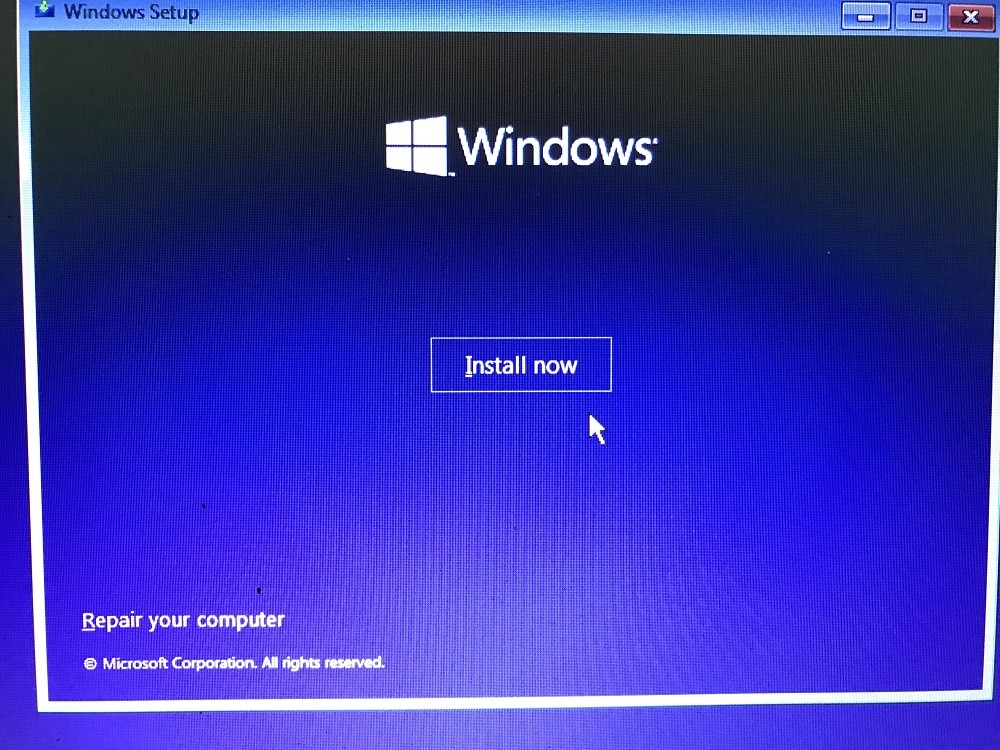
- After selecting your Windows 11 beta bootable USB drive, your PC will boot into the Windows 11 installation Wizard. At the first screen, click Next, followed by Install Now.
- Followed by that screen, accept the license terms and click Next.
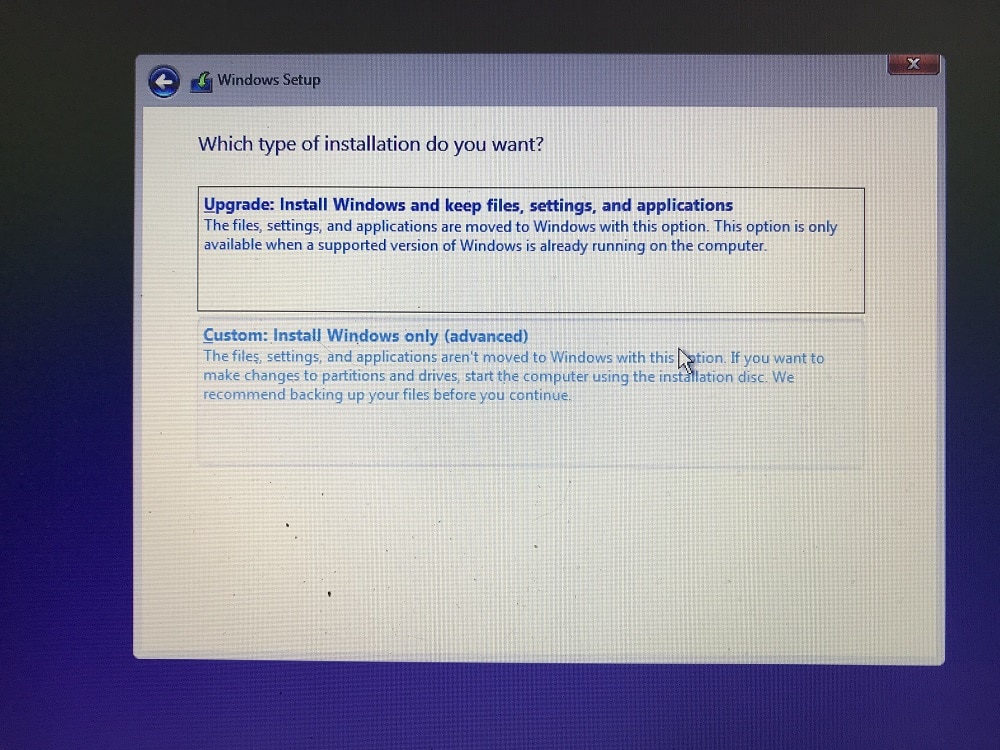
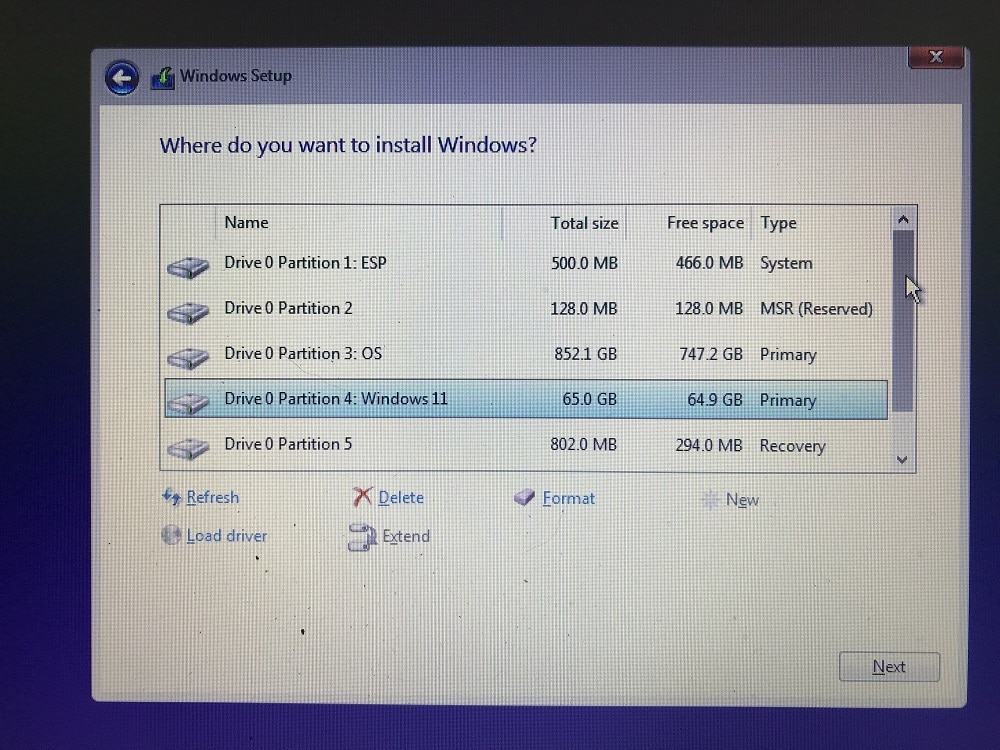
- On the next installation screen, select “Custom: Install Windows only (advance).” This option lets us install Windows 11 Beta on the separate partition we previously created.
- At the custom install prompt, select the partition we created by name of “Windows 11.” This is where our Windows 11 Beta Installation will reside at.
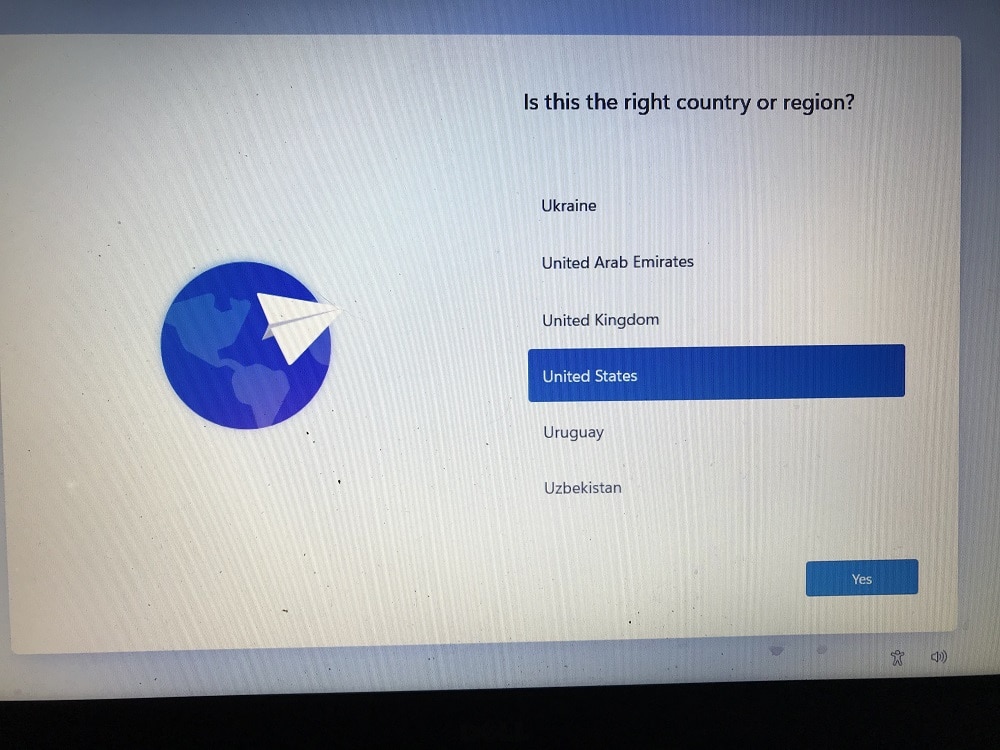
- Hit Next and your Windows 11 Insider Preview installation will begin. Once the installation process is done, you will get the Windows 11 setup screen. Follow the on-screen installation and your PC will have the Windows 11 Insider Preview in a matter of minutes. Make sure to run Windows Update after you’re done with the installation process.
Boot back / dual boot to Windows 10 from Windows 11
If for some reason you would like to boot back to Windows 10 from your Windows 11 installation, all you have to do is launch the Windows safe mode by…
- Pressing the Windows Start Menu.
- Select Power, then press Restart while holding the Shift key.
- Once the Advanced Boot Options show up, select the choose an operating system option.
